Introduction
Keyboard-driven interaction with software is something you only appreciate once you commit to get better with it. You’ll find yourself mapping keybindings to every common task. Soon enough, though, you’ll notice a limitation: your most frequently used keys - the home row and adjacent keys - can only do so much. This is where layers come into play, unlocking a new dimension of keyboard efficiency.
Keyboard layers, often called modes, are like having multiple keyboards in one. They let you assign different functions to the same keys depending on the active layer, making it easier to access commands without moving your fingers far.
What Are Keyboard Layers?
Consider a simple example we all know: press the key a on your keyboard, and it prints a. Now press Caps Lock and try pressing a again - it prints A. This is a fundamental layer switch you’ve likely used thousands of times without thinking about it.
This simple concept can be expanded to create powerful, context-specific control schemes that keep your fingers on the most efficient keys.
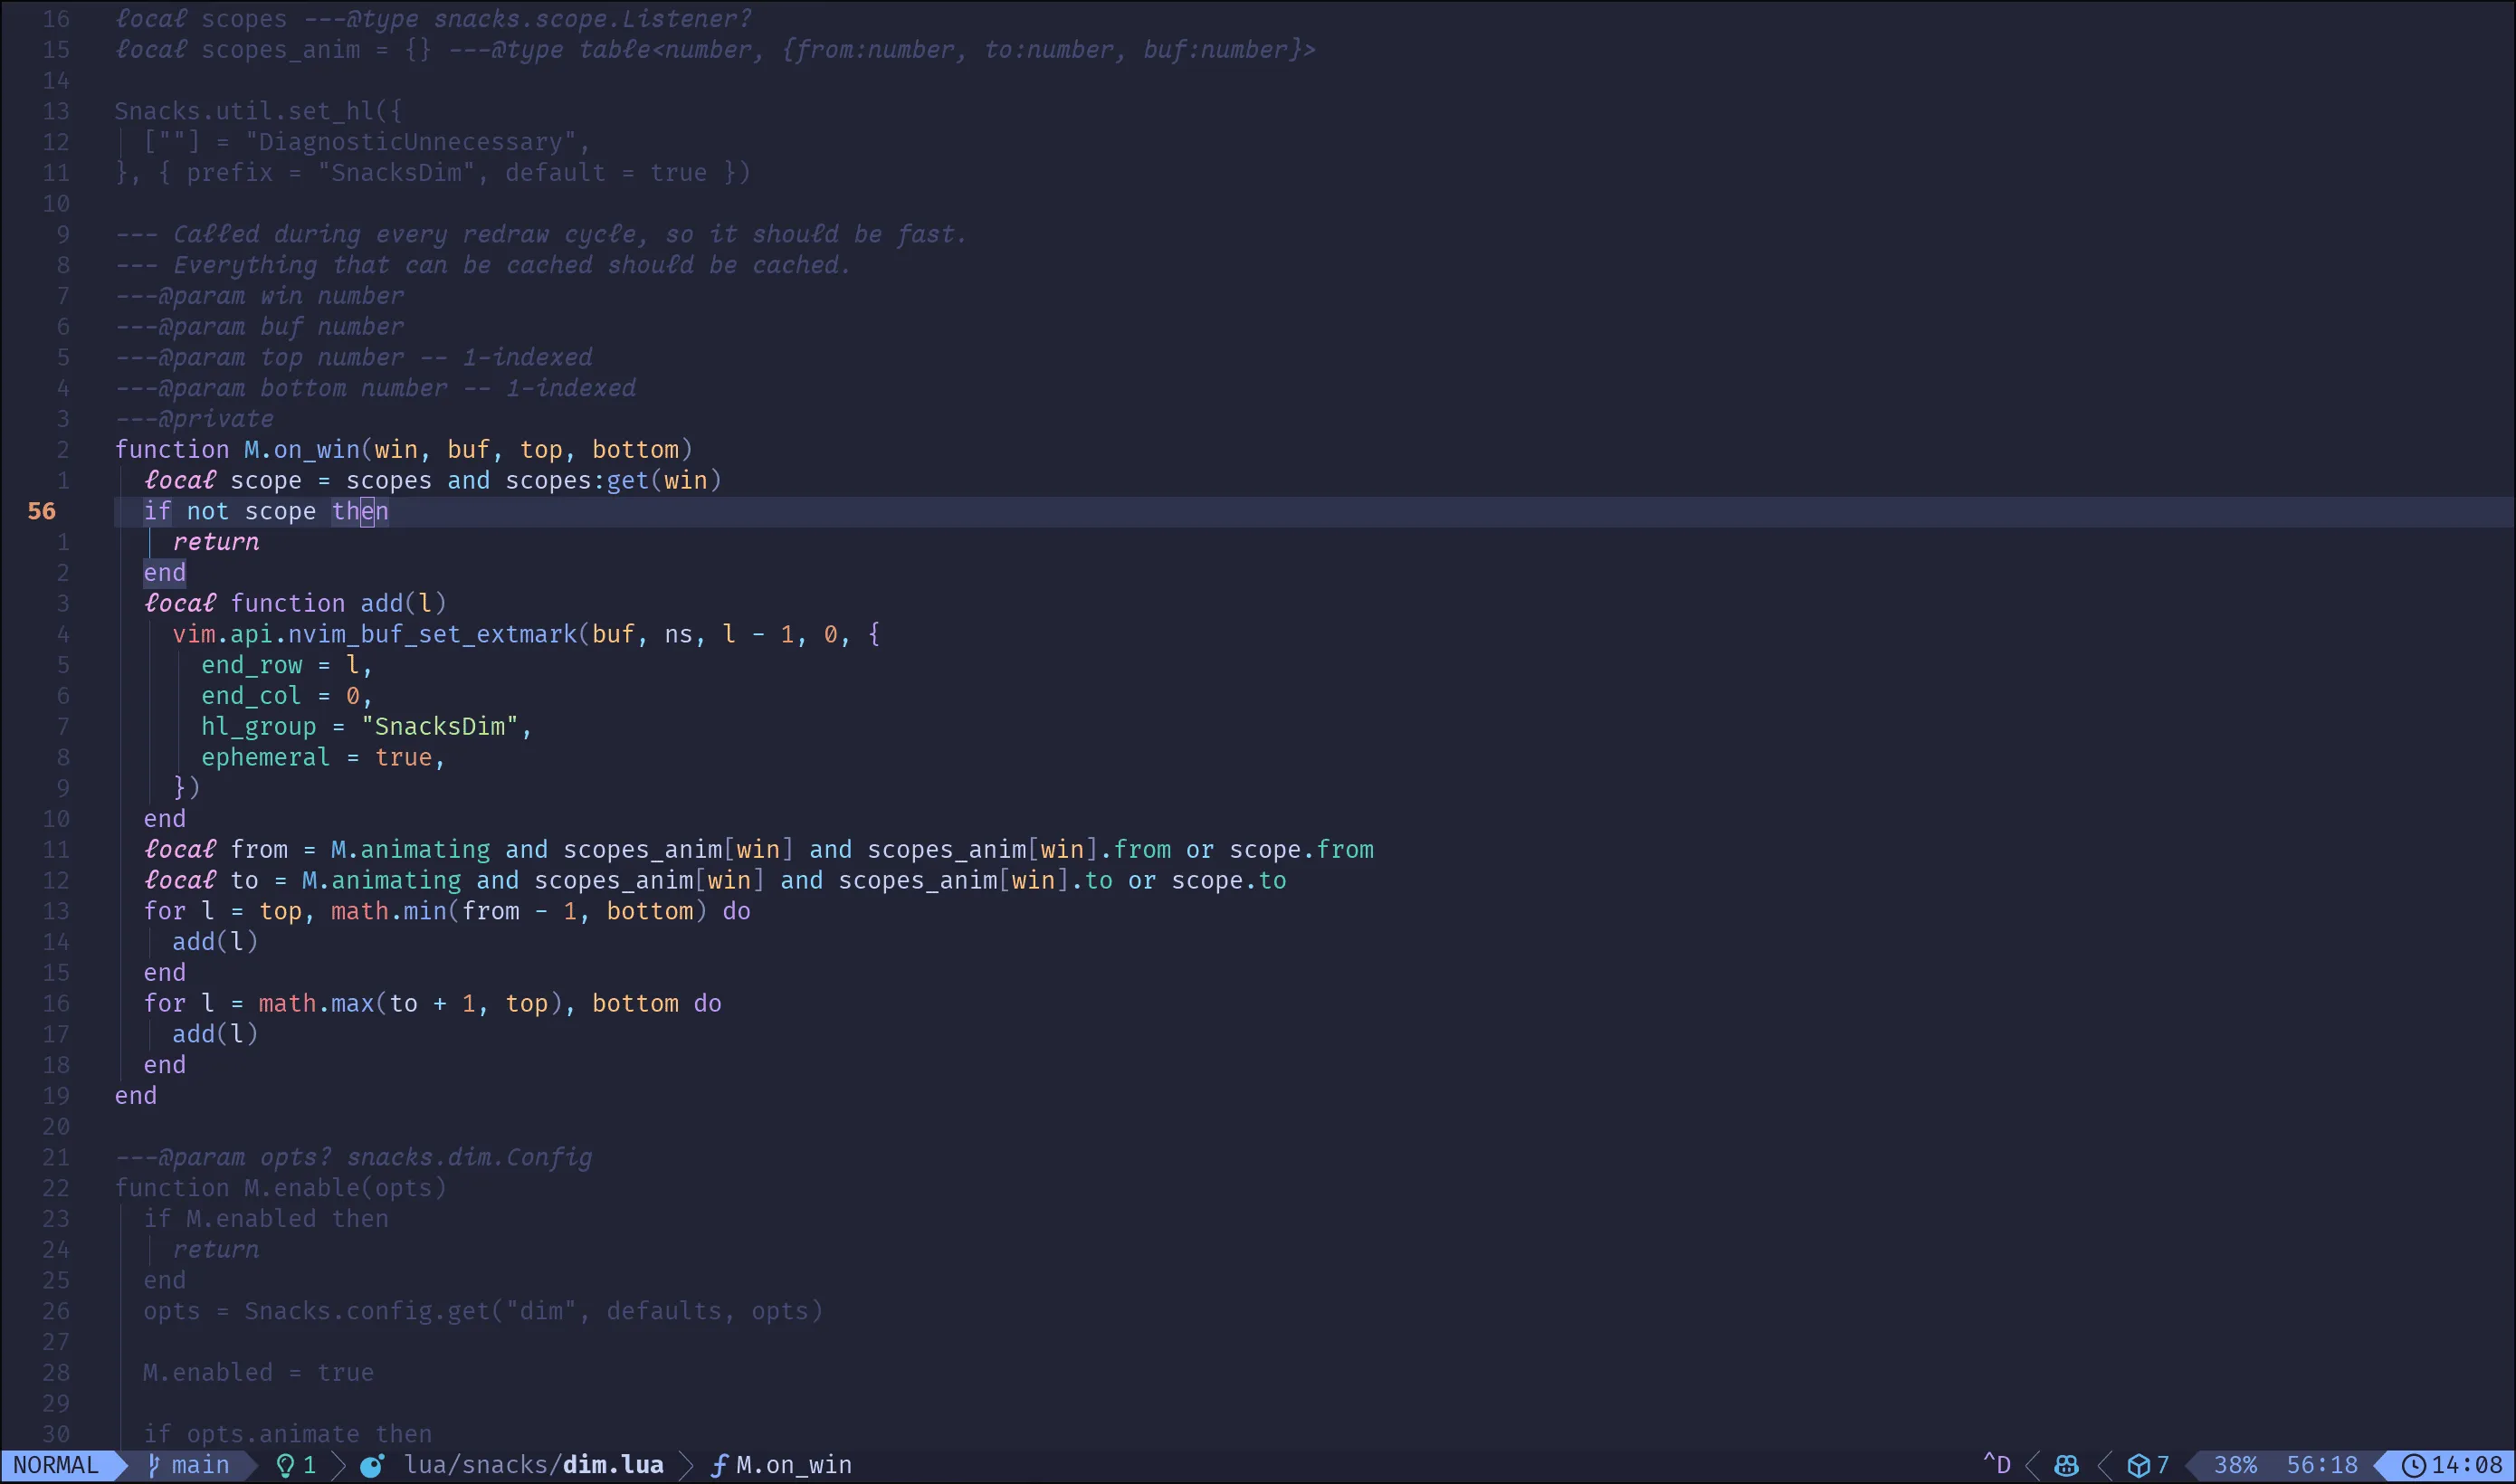
Layers in (Neo)vim: Modes
If you’ve used a vim-based text editor or vim emulation, you’re already familiar with layers in the form of “modes”. The standard vim experience includes at least three modes: normal, insert, and visual.
When you open vim, you start in normal mode. Here, pressing x deletes a character, and pressing p afterward pastes the deleted character at the cursor position - essentially a replace operation. Press i to enter insert mode, and suddenly the same x and p keys simply type x and p into your document.
By toggling between modes with i and Esc, you’re essentially changing the entire meaning of your physical keyboard.
Layers in Ghostty Terminal
Ghostty, a modern cross-platform terminal emulator, takes a similar approach with its keybinding system. Here’s an example configuration:
keybind = alt+t=new_tabkeybind = alt+o=next_tabkeybind = alt+n=previous_tabkeybind = alt+c>n=move_tab:-1keybind = alt+c>o=move_tab:1Here, we use home row keys (in my case neio for Colemak keyboard layout) for tab navigation. By default, alt+o moves to the next tab. However, pressing alt+c first activates a different layer where n and o now move tabs between positions rather than navigating between them.

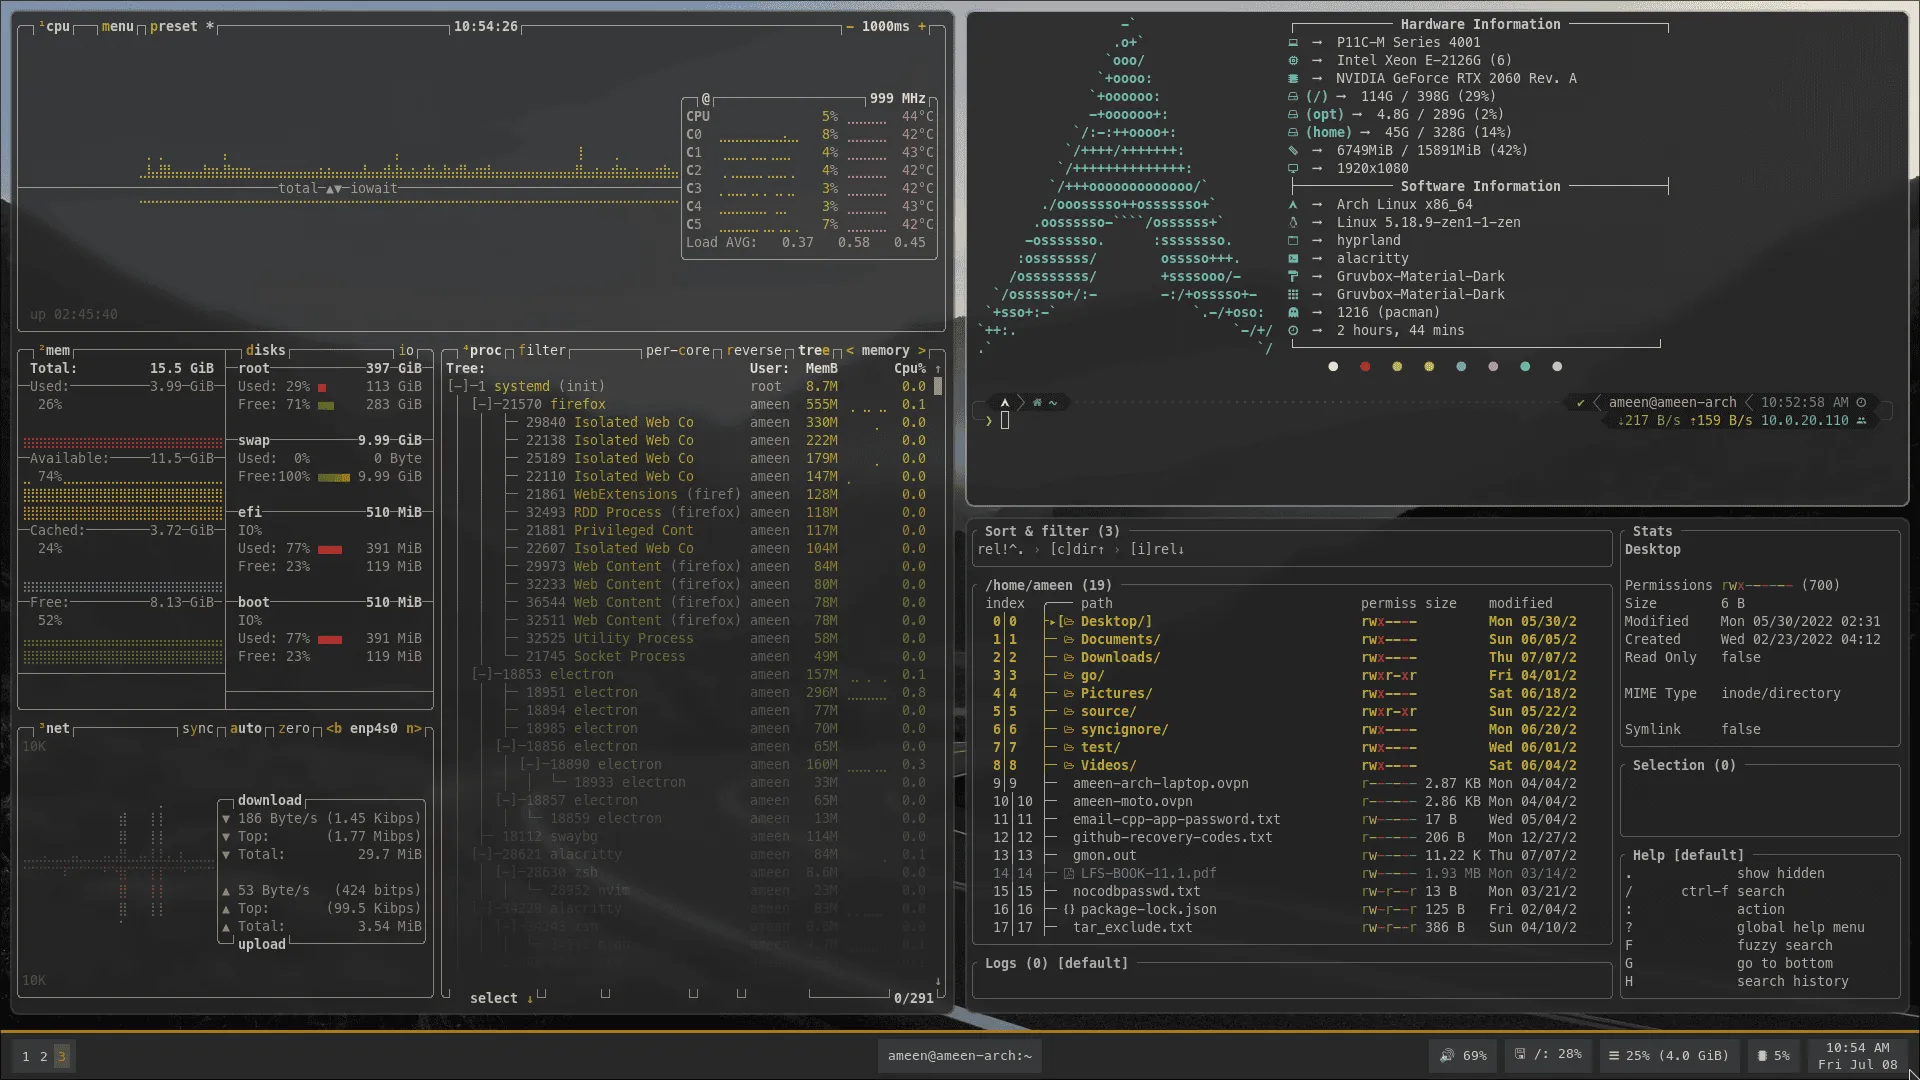
Layers in Hyprland
Hyprland, a Wayland compositor with dynamic tiling capabilities and i3-like features through plugins like hy3, offers “submaps”—another implementation of the layers concept.
For example, you might have Super+f bound to launch a file manager, but what if you want to open specific directories quickly? Submaps provide a solution:
bind = $mehMod, f, submap, filemanagersubmap = filemanagerbind = , f, exec, hyprctl dispatch submap reset; $fileManagerbind = , d, exec, hyprctl dispatch submap reset; $fileManager ~/Downloadsbind = , s, exec, hyprctl dispatch submap reset; $fileManager ~/syncbind = , h, exec, hyprctl dispatch submap reset; $fileManager ~With this configuration, pressing Super+f activates the filemanager submap. While in this layer, pressing d opens your Downloads directory, s opens your sync directory, and so on. Each command automatically resets the submap after execution, returning you to the default layer.
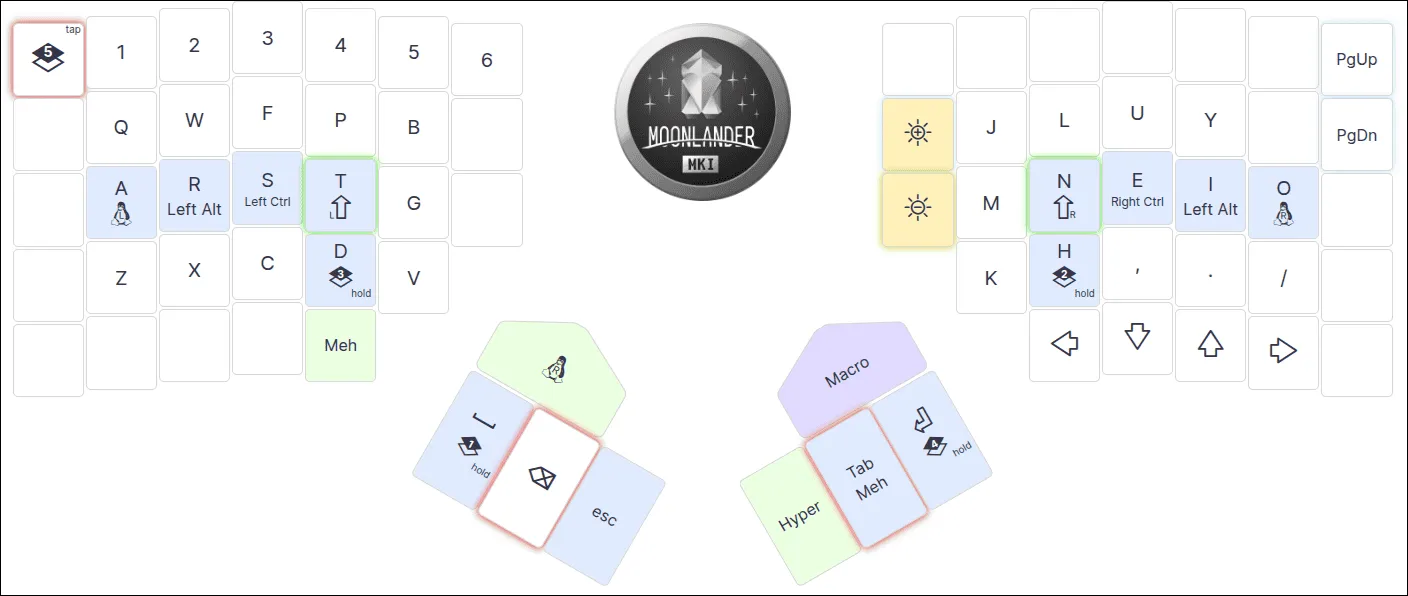
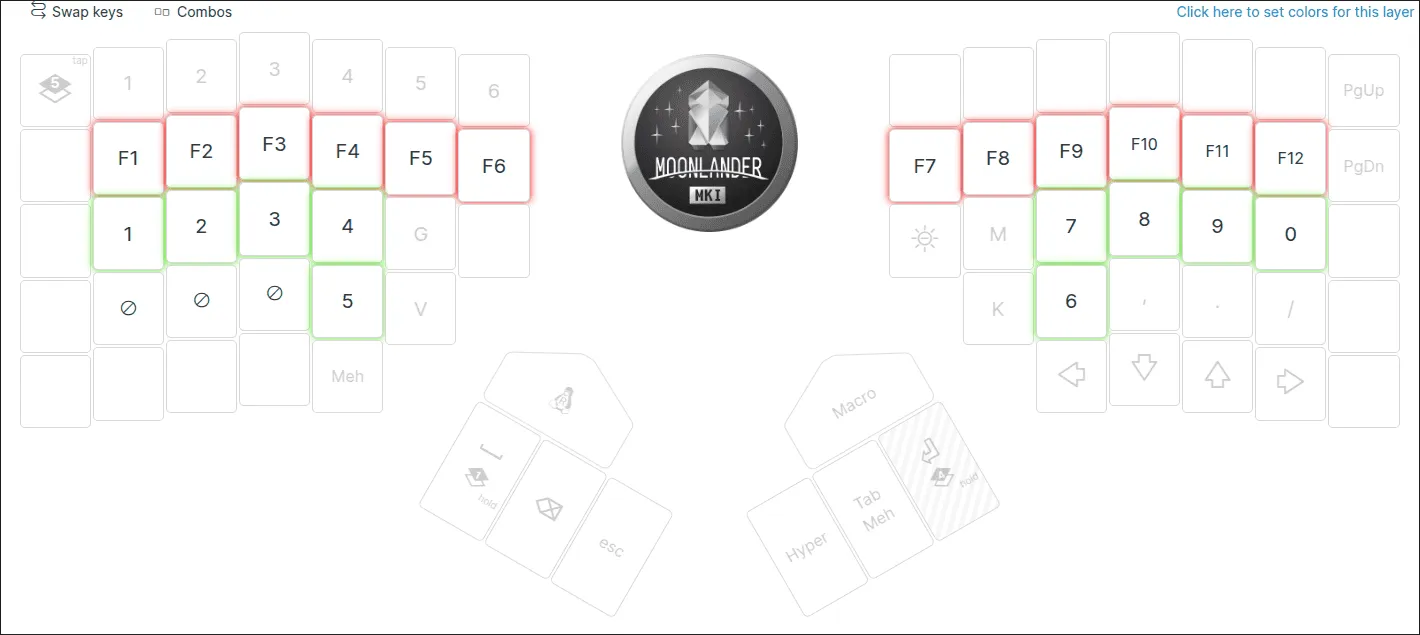
Layers in Physical Keyboards
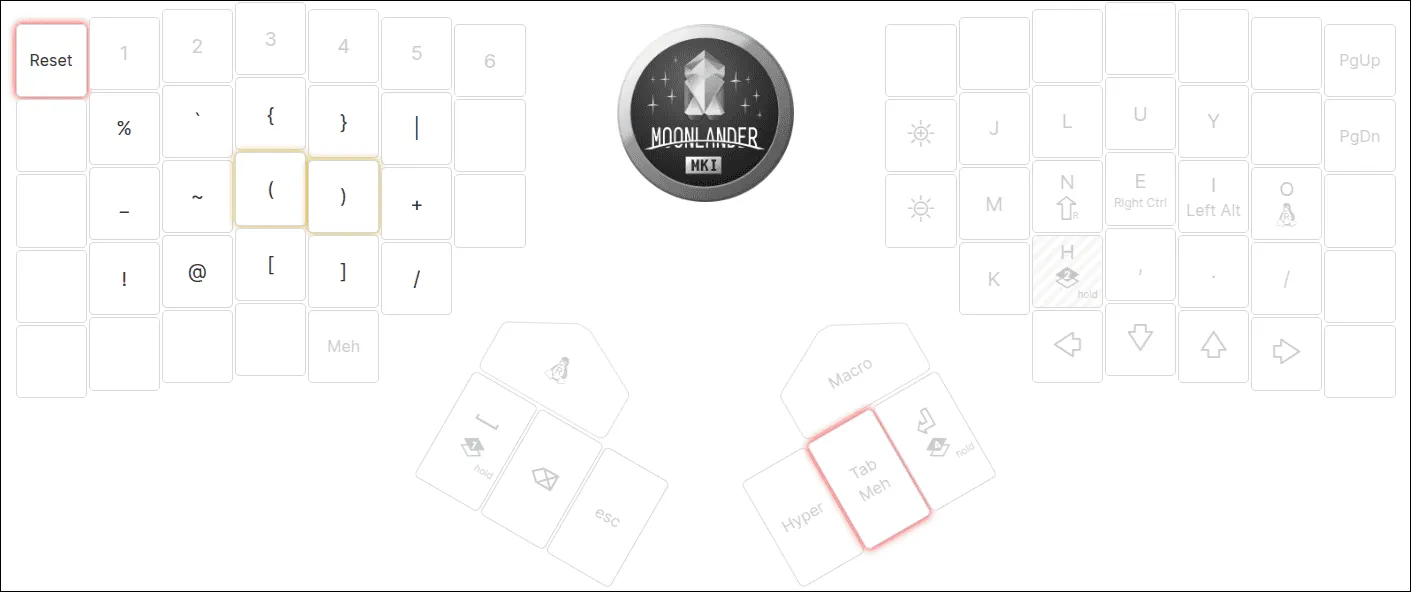
The concept of layers extends beautifully to programmable keyboards. I use a Moonlander keyboard, which allows me to create custom layers mapped to my workflow needs.
My default layer uses the Colemak-DH layout, but by holding modifier keys, I can instantly transform my home row into a number row or access symbols without moving my fingers from their optimal position.
Now what?
Keyboard layers might feel tricky at first, but their efficiency is worth it. Begin with something simple — like a number layer under a modifier. As you get comfortable, you’ll craft a custom setup that transforms how you work.